You are here
Welcome to the second installment in our Essential Tips to Great Outdoor Photography. This three-part series is meant to help anyone wanting to become a better outdoor photographer. Last time we talked about timing, composition and inspiration. In this article we explore using a D-SLR or pro-level mirrorless camera on manual mode to fully control your creative expression.
When I was first learning about photography, it helped to think of the camera as a mechanical eye, which is essentially what the technology is trying to mimic. Relating the features of our eyes to the controls on the camera can make the concepts less foreign. In this comparison, a camera's aperture is like a pupil that dilates and contracts depending on light levels, and the shutter is like an eyelid that opens and closes to control the light that reaches the pupil. Just as your pupils will contract and your eyelids will instinctively shut when you look toward the sun, so you will have to use a quick shutter speed and a small aperture when shooting in bright conditions. In low light, on the other hand, keeping your shutter open longer and using a dilated aperture will allow as much light as possible to reach the sensor. Once you learn to control these two variables and gain an understanding of ISO, you can take just about any photo you like.
Shutter Speed and Motion

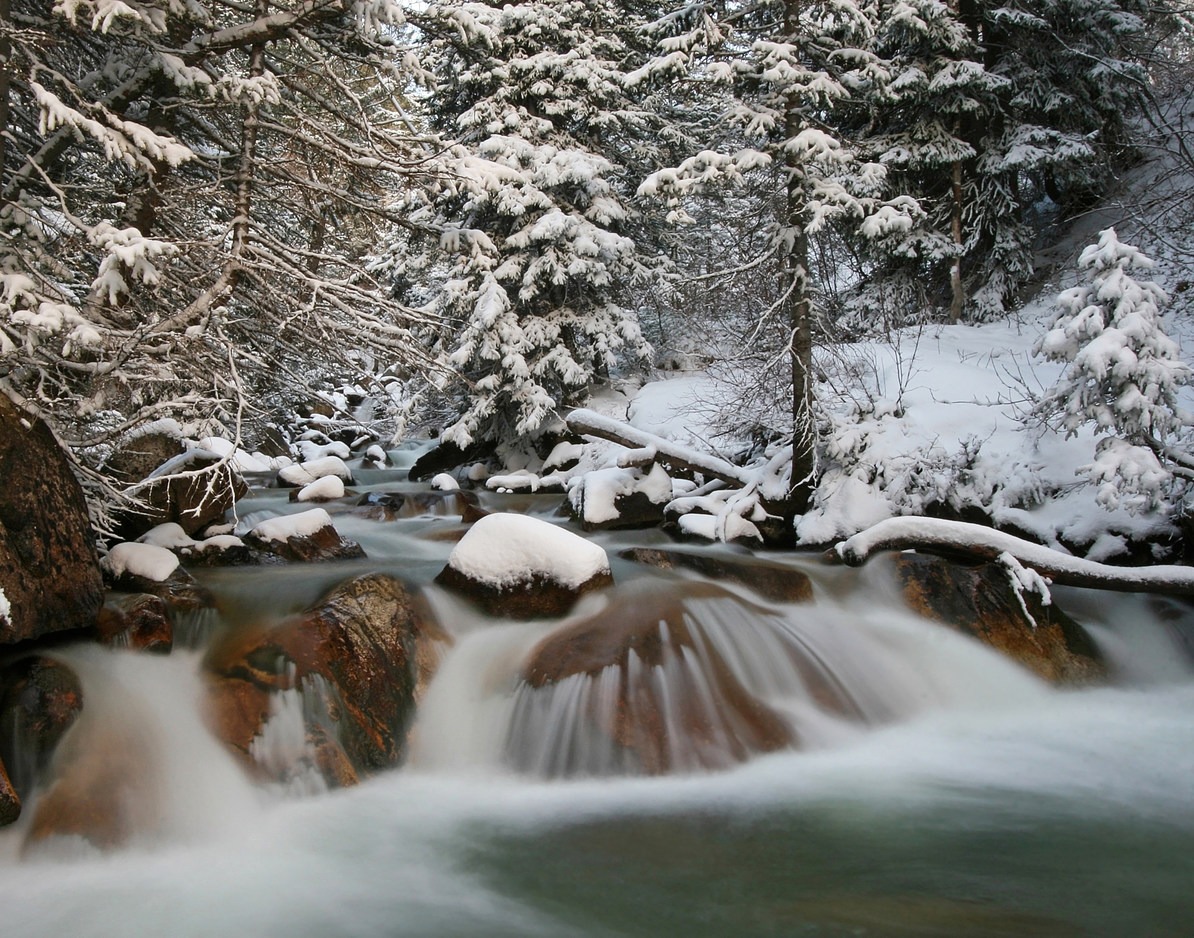
Shooting a waterfall is a great time to use shutter priority mode.
Shutter speeds are measured as the seconds and fractions of seconds that the shutter remains open. This is the "eyelid" of the camera that controls how long the sensor is exposed to light. The shutter also controls the visual effect of movement over time: If you are shooting an action scene or wildlife that moves quickly, you may want a fast shutter speed that freezes a moment so the subject stays in focus. On the other hand, if you want to create a silky-smooth waterfall photo, you will need to learn how to properly use long exposures, which allow for motion to blur in a scene.
Aperture and Depth of Field
Aperture, the camera's "pupil" that allows light in, controls both exposure and depth of field. Depth of field refers to the area of the image that will be in focus in front of and behind your subject. It is measured in f-stops, and higher f-stop numbers equate to smaller aperture openings. This is counterintuitive (the numbers are actually denominators of fractions), so you just have to become familiar with how it works: f-2.8 is a large hole, f-22 is a small hole. The smaller the hole (and the larger the f-stop number), the less light, the greater your depth of field, and the more objects will be in focus even when they are not the same distance from the camera. On the other hand, the larger the hole (and the lower the f-stop number), the more light, the shallower the depth of field, and the more objects at other distances from the camera are heavily blurred. Lenses that can have very wide aperture settings tend to be more expensive, and the bokeh effect, or the blurring pattern, is more prominent.
ISO
ISO is your sensor's light-sensitivity rating, and it is measured in numbers from about 100 to 10,000 in most cases. If the shutter is the eyelid and the aperture is a pupil, ISO can be thought of as the rods and cones that balance incoming light as it hits the back of your eyes. The sensor inside the camera actually has a sensitivity to light that can be adjusted in manual and auto modes. This allows you to split the difference between shutter and aperture to get the desired visual results. If you have a low ISO, your photos will be very clean and crisp, but you will need a lot of light. If you raise the ISO to make the camera more sensitive in low light, you will get grainy "noise" on your image that can ruin its integrity. The newer and more expensive the camera, the higher your ISO can be set without having too much noise. The advances in ISO clarity are one of the great leaps in modern digital photography, and greater ISO capacities have really changed the rules of what is possible.
Transitioning from Auto to Manual

In situations where you can't rely on automatic exposure, being comfortable with manual control is a must.
A few great ways to transition into the somewhat complicated world of manual shooting is to use the priority modes. In aperture priority mode you can manually set the depth of field, while the shutter and ISO are still on a computer assisted auto mode to get the exposure correct. The shutter priority is the same but opposite; you set the speed of the shutter, and the camera automatically adjusts the other variables to expose the photo properly. This is a great if you are uncomfortable with using all three tools on manual or really want to focus on one aspect.
Exposure Compensation
Every situation has a different solution to get an optimal photo. Exposure compensation can be an easy way to add or subtract exposure from a scene without adjusting other variables, and it is especially helpful in auto modes. One prime example of shooting with the need of an exposure compensation would be doing photography in the middle of winter. The reflective snow does crazy things to your light meter, and you will need to learn how to compensate for the high amount of light coming into the lens. If you allow your meter to determine what is "properly" exposed, your photos will come back much darker than expected because the white snow tricked your sensor into thinking there was more light than there really was. You need to over-compensate in this situation to keep your shadow areas from being fully black. Check out this Outdoor Project article for more on this subject
White Balance
The lighting of an environment, whether from the sun or from artificial lighting, can drastically alter the final result of a photo. The camera needs to balance out the light with some help from you to properly recreate the colors and tones in reality. You can set the white balance to auto, but in manual mode you will get much more accurate recreations. Some examples of different white balances are sunny, shady, cloudy, incandescent or flash. They each have a different level of cool (blue) and warm (yellow) tones integrated help the final product to look like it did in real life. These settings essentially have a pre-set "temperature" that can also be controlled manually in post-processing to get the colors and tones to match perfectly.
Light Metering

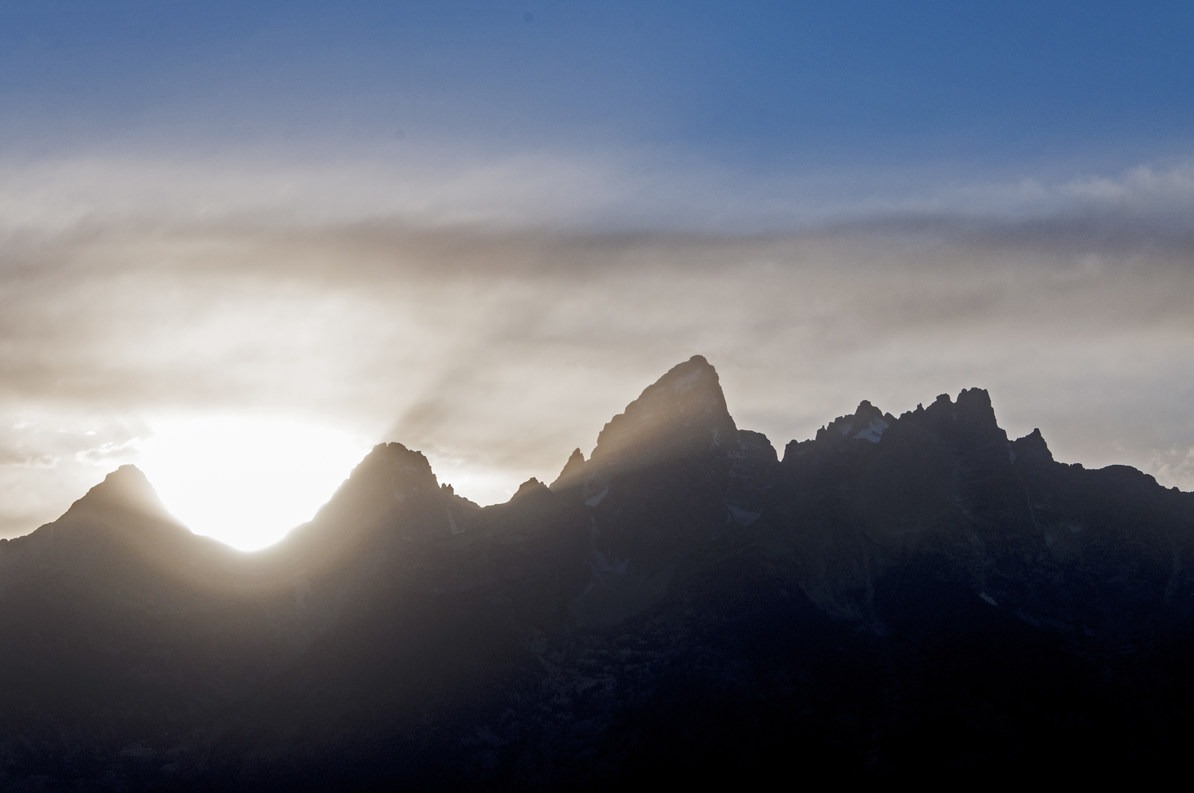
In situations with significant portions of the scene in dramatically different light, spot metering allows you to control exposure more effectively than weighted average metering.
When doing modern nature photography we normally rely on our in-camera light meters rather than using an external version. This means the camera needs to know what type of metering system to use, because they can have very different outcomes. Weighted average metering is great when shooting in auto modes because it averages the overall light coming in to create a middle-of-the-road exposure. If you want to get more control over your metering to target the light in certain parts of the scene, take the time to learn spot metering. This will keep things from having a bland, average or flat exposure, and you can begin to explore the lighting techniques that give the scene the most impact.
Shooting in RAW
The JPEG is the standard format of digital photos, but JPEGs are limited in how much they can be changed in post-processing. JPEGs work fine if you all you need to do is sharpen the image a bit or add a little color saturation or other small adjustments. If you shoot in RAW, however, you will be able to do very helpful things like pulling detail out of heavy shadows or changing the color balance without destroying the integrity of the image. You will need editing software to use RAW images, but this is a big part of heading in the direction of pro-level photography. One of the noticeable benefits of shooting in RAW is that it allows you to shoot with a high ISO and reduce noise tremendously. This has opened the door to low light photography in nature without a tripod.
Editing Software and the Ethics of their Use
Also called post-processing, or simply "post," digital editing has completely transformed modern photography. Thanks to programs like Photoshop or the filters available on Instagram, we have a wide array of tools to alter our photos to any extent we wish. This does raise an interesting question about when to use these strategies and to what degree, at least when it comes to trying to reproduce images of the natural world. I try to use these tools to make the photo look as nice as the scene looked in real life without overdoing it, and I try to keep editing to a subtle, low level or intensity. Sometimes it's easy to get carried away. As a rule of thumb I try not to spend more than 30 seconds editing a photo or it seems to loose it's natural feel. My most-used Photoshop tools are the unsharp mask filter to sharpen, shadows/highlights to help it pop, color saturation (keep it light), and brightness/contrast (the best way to give a photo impact). When editing tools are used too heavily, we lose the essence that makes a nature photo a natural one, but when used properly, we can get our photos somewhere near their true beauty.
High Dynamic Range (HDR)

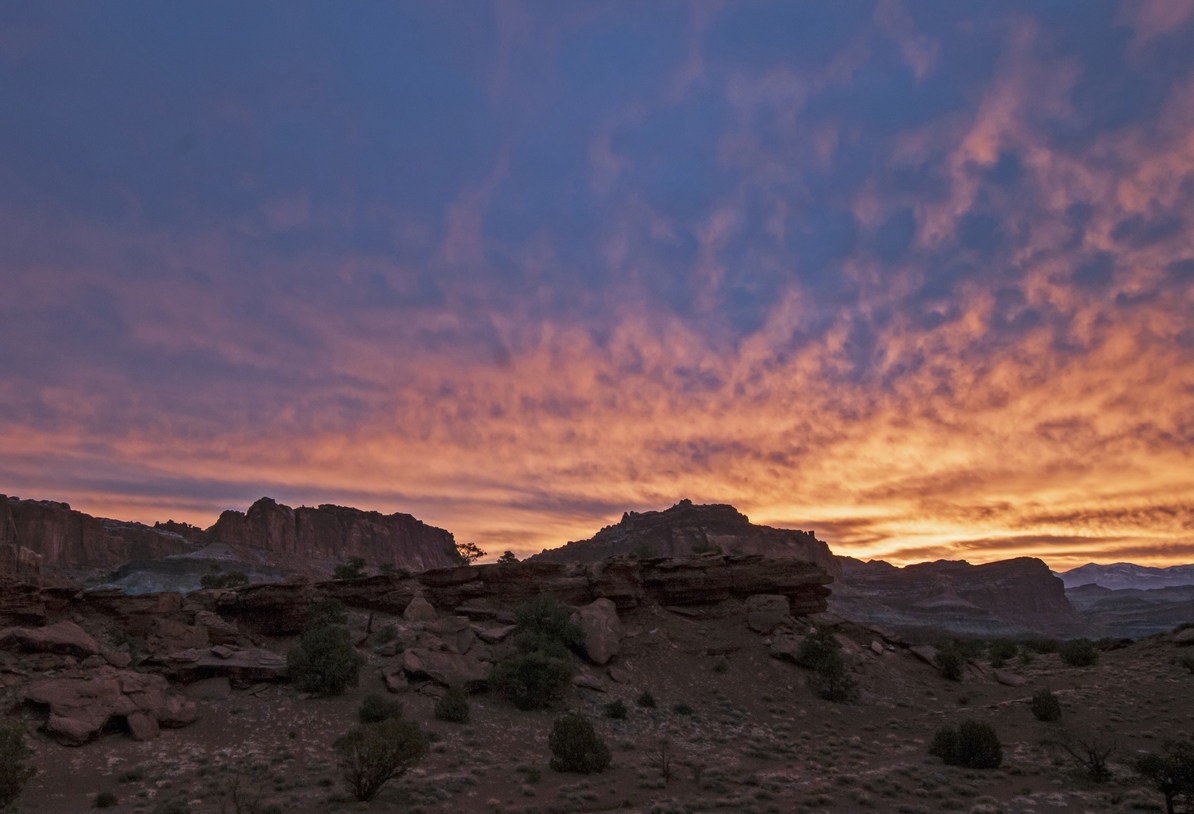
HDR allows photographers to capture a wide array of light without complicated graduated filter systems.
A lot of us have seen this acronym on our phone's camera but aren't sure what it really does. Essentially, the camera takes multiple photos at different exposures and blends them together so that you can get a much wider range of light and dark. This allows for a final photo that can balance areas with different light; for instance, an HDR landscape can produce the sky and the ground in equal exposure. This used to be a very difficult thing to accomplish in the film days, and it took graduated filters and a lot of work in the darkroom. Nowadays we can have beautiful sunsets with the mountain perfectly lit beneath them in a relatively quick time. Many cameras have built in HDR with a wide variety of results. The pros often take photos in RAW and run them through an HDR program on their computer with much more control and better results. This is another topic that deserves further research because this particular technology has changed modern photography more than most other advances. Using HDR improperly gives photos an over-processed look, but when done right it brings out subtleties that are often missed with one exposure.
For more Photography Essentials, be sure to see the following articles:


Comments
Sign In and share them.